Ankle injuries can take some time to heal, especially if you haven’t taken the time to seek proper medical attention.
Athletes of all kinds will use tape in order to support their ankle whilst it recovers – and this is not different in running.
Taping will allow you to properly support your ankle without restricting any of the mobility that you’re used to.
But how exactly do you properly tape an ankle?
If you need to do this quickly, then don’t worry! We’re here to help. In this guide, we’re going to take you through how to tape an ankle in 3 easy steps.
Step 1. Preparation
The best thing you can do if you’re not sure is to seek help from a medical professional. They are going to be able to properly tape your ankle and make sure that it has all the support it needs.
However, if you find yourself unable to get help, or that your first ankle tape is coming loose and you still need support – you will have to do it yourself.
You’re going to need to first gather materials that will make wrapping your ankle easier.
Make sure you get the proper equipment because if you don’t there is a chance you could do more damage to yourself and make the problem worse.
After all, taping your ankle up is all about support. You will need:
Athletic Tape: This will act as the main bulk of your ankle wrap.
Pre-Wrap: To be put on before and act as a line of defense between your skin and the rough tape. Pre-wrap is usually made out of either foam or gauze.
Heel And Lace Pads: These will protect you from chafing and stop nasty blisters from forming.
Tape Adherent: This will allow you to stop the tape from slipping and makes the entire process much easier.
After this, make sure to position yourself in a place that is easy to reach, clean and comfortable. If you have somebody helping you, find a way to elevate your foot.
Don’t do this on your own because there will be no way to reach your ankle and our gathered materials.
The final part of your preparation is going to involve applying our adhesive. Usually, this will come in spray form, so simply spray it lightly over the area you wish to tape.
Don’t use too much here, just enough so that it covers your skin and is evenly distributed.
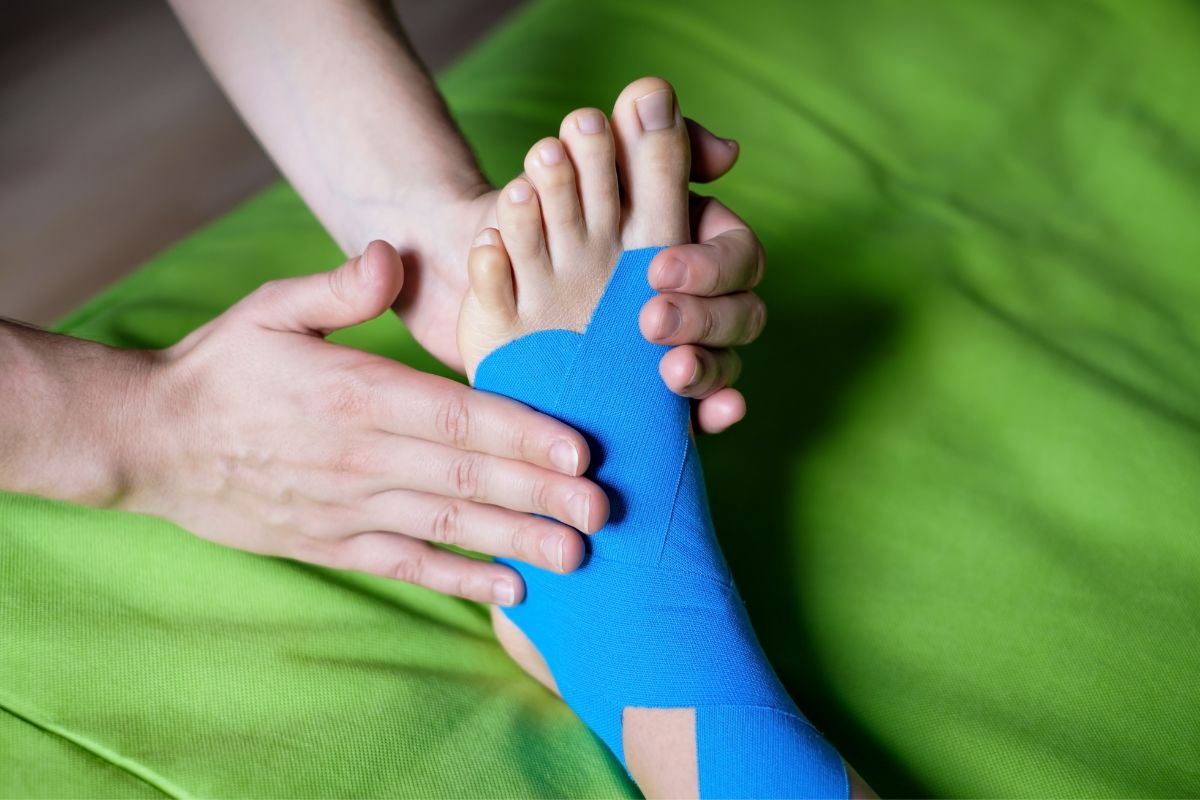
Step 2. Lace Pads And Pre-Wrap
This is the more complicated part of the process, so make sure you keep an eye on each step we write so that you don’t mess anything up.
If you think you’ve made an error, either find a way to undo it or to start the process again. It’s important to cover all your bases when taping an ankle – because it is to avoid further injuries from occurring.
Start by positioning the lace pads we gathered earlier. There will typically be one on the heel of your foot and one around the top.
If you’re not sure where we mean – just consider where are the most likely places where blisters will form.
You can also consider this depending on the type of footwear you have and where the shoes is most likely to chafe against your skin.
Next up, you’re going to wrap your entire ankle with pre-wrap. You want to cover the entire space of your ankle.
Try to use slightly overlapping wraps and keep them neat. It’s important here to wrap tightly, so make sure you don’t have any loose parts of the fabric by the time you’re done.
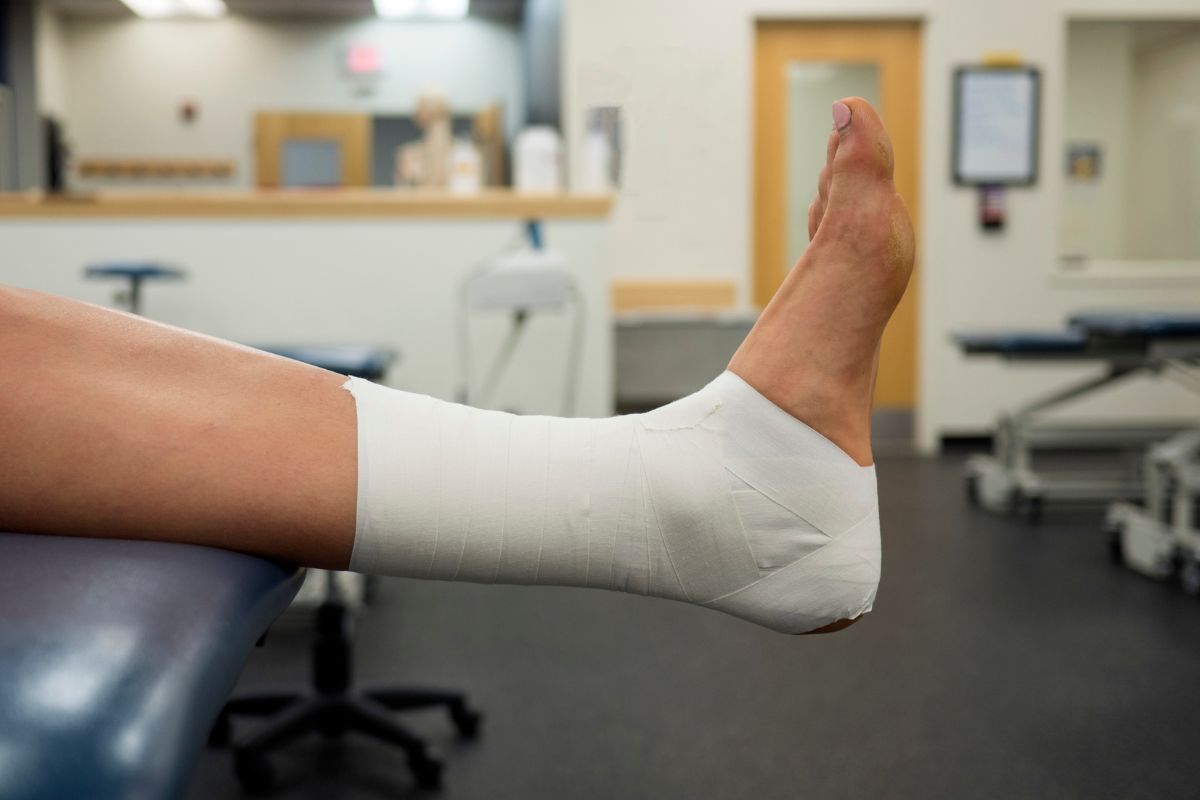
Step 3. Wrapping
Now we are going to use a few different methods to completely wrap your ankle. We’ve broken these down into mini sections for you below.
Anchors: Anchors will give your foot support at crucial points, you can add one to three of these depending on where you need support. Place one at the arch of the foot, one at the bottom of your leg, and one in the center if you feel that you need it.
Ankle Stirrups: Ankle stirrups go up the side of your foot, from the top of your leg all the way down to your heel. You want to wrap these all the way around your foot. Careful here – this can be one of the sections where looseness can occur – so make sure you wrap this as tight as you can.
Horseshoes: Next up will be to wrap some horseshoe-shaped lines. Put these from the base of the foot all the way up to the bottom of your leg. They need to wrap around from the back of your foot towards your toes.
Final Taping: From here you want to completely cover your pre-wrap in sports tape. Make sure you hold all of the different supporting sections together so that you get total coverage of your entire ankle section.
Final Thoughts
So there you have it! We would like to emphasize that getting an ankle taped professionally is always going to be your best option, but that’s not to say you can’t have a good go at it yourself.
The most important thing to do is to ensure that your ankle is supported at all of the most specific spots, to apply adhesive and lace pads to prevent blisters and that you make everything as tight as you possibly can.
We hope that this guide has given you some insight into how to wrap an ankle and that you now feel a lot more confident about the whole process.
Taping an ankle can be a great support option for you as you begin to move and run again, making sure your ankle gets the proper protection it needs.
Hi, I’m Richard Harris and I have been running for almost 20 years now. Since a young teenager with a little baby fat still clinging on for dear life, I have been obsessed with this simple form of cardio.
Not only have I enjoyed running every single day for two decades, but I have also been fascinated by the countless marathons and races offered around the USA. I love watching these races, and I’ve even participated in some of them too!


")


