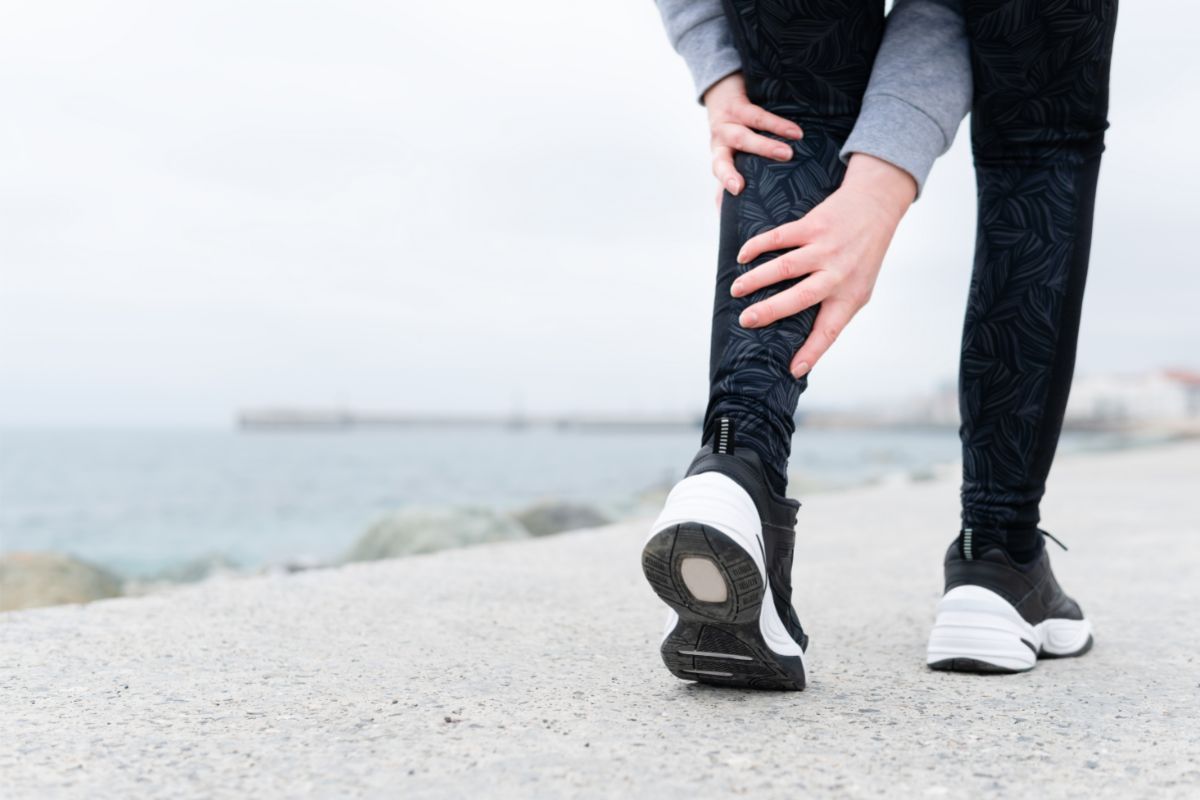
Shin splints, which also go by their medical term of medial tibial stress syndrome, is a very common occurrence in which bone tissues and muscles in the shin bones can become inflamed and irritated from strenuous exercise.
Luckily, taping can help to alleviate pain and aid in the recovery process – but how do you do it?

In this article, we are going to be showing you how you can tape your shin splints to help aid in the recovery, while also being able to alleviate some of the pain associated with this condition.
Below, you will find instructions on how to tape both the anterior and posterior. Let’s begin!
What Are Shin Splints?
There are two main types of shin splints that can occur from walking, running or strenuous exercising in general – and these are anterior shin splints and posterior shin splints.
Anterior shin splints often cause pain on the front of the lower leg area, while posterior shin splints can often lead to pain being felt on the inner side of the lower leg.
Regardless of this, the majority of people who experience shin splints typically find that the area most affected is the shin area, with the pain often radiating to surrounding areas such as the ankles.
Oftentimes, the early warning signs of shin splints is a sharp yet gradual pain that can typically be felt the most after physical activity.
It is very important to make sure that shin splints are treated by a medical professional as soon as they are detected, as leaving shin splints to get worse can sometimes lead to stress fractures and other more serious conditions.
How Does Tape Help Shin Splints?
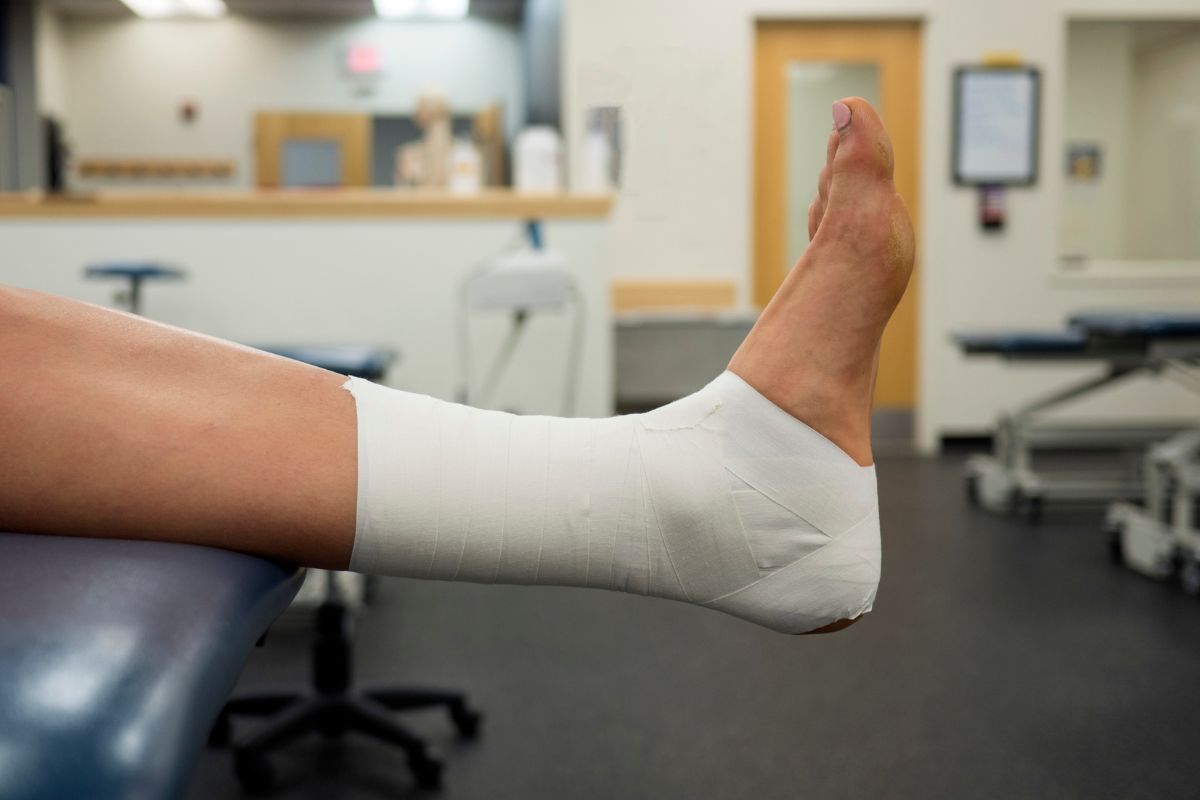
Along with other medical treatment, tape can help to aid in the recovery of shin splints by relieving the pressure placed on the inflamed muscles.
As well as being able to alleviate pain and pressure, tape can also encourage the surrounding muscles to release tension and relax, which can further help to reduce the symptoms associated with shin splints.
The only question is, how do you tape correctly? This brings us to our next section.
How To Tape Shin Splints: Step-By-Step Instructions
In order to make sure that you are able to benefit from taping your shin splints, you are first going to need to make sure that you are wrapping the tape following the proper technique.
To make sure that you are able to tape your shin splints correctly, below we are going to be breaking down how you can tape both the anterior and posterior:
Shave The Affected Area

First things first, we strongly recommend that you shave the area that has been affected, as this will then ensure that the tape that you are going to be using will be able to adhere to the skin more effectively.
Along with this, making sure that you shave the area that you are going to be taping prior to doing it will also make the removal of the tape far less painful.
As a side note, if you are the type of person who is prone to allergic reactions, we also suggest that you carry out a small patch test before going ahead and taping your shins.
By doing this, you will ensure that any allergies will be picked up prior to completely taping the affected area on your leg/shin.
Elevate Your Lower Leg
After you have taken the time to shave the area that you are going to be taping (as well as carrying out a patch test if needed) you will then be ready to begin taping your shin splints.
In order to do this by yourself, you will need to place your foot at a 45 degree angle or alternatively opt to simply elevate your leg depending on how flexible you are.
By doing this, you will find that you are able to reach the area that you need to tape far more easily and comfortably.
Wrap The Tape
When you are ready to do so, take the tape and begin wrapping it around the affected area.
To do this correctly, start at the base of your ankle and then carefully begin to wrap the tape up and around your ankle until you reach the top of your shin area.
While you are wrapping, make sure that you align the tape side by side to ensure that it is able to bond with your skin and increase the effectiveness of its support.
Alternatively, you could also opt to simply apply one long piece of tape from the base of your foot all the way up to the shin, and then apply additional tape horizontally across the areas that are most affected.
After you have finished taping one shin splint, you can then go ahead and repeat the same process on the other leg.
To increase the efficacy of your tape, we also recommend that you get plenty of rest to allow your shin splints to heal, as well as avoiding physical exertion to prevent them from becoming worse or potentially even turning into stress fractures.
If you do need to carry out any physical activity, along with wearing your tape, we also recommend that you remember to ice the affected areas on your legs to help offer you pain relief afterwards.
Wrapping Up
All in all, there are many different factors that can contribute to shin splints, although they are most commonly caused by running, cycling or jogging.
Now that you have taken the time to read through our article above, we are hoping that you are now feeling confident enough to try wrapping your shin splints with tape.
However, if you are experiencing pain that is interfering with your ability to carry out daily activities, or you are finding that your shin splints are not healing as expected – we recommend booking an appointment with your doctor who will be able to assess the situation and then help you with further treatment.
Thanks for reading!
- Can Dogs Run Faster Than Humans? (Running With Your Furry Friend) - October 4, 2022
- 10 Doggie Fun Runs You Will Love [Ultimate Guide] - October 4, 2022
- What Are Division Results In Running? - October 4, 2022


