Running is one of the simplest forms of exercise, which makes it incredibly accessible to just about anyone.
However, in order for a run to be truly effective and safe, a few things, of course, need to be considered.
For instance, you may need to stretch effectively before heading out, and you may want to be fully hydrated before you start.
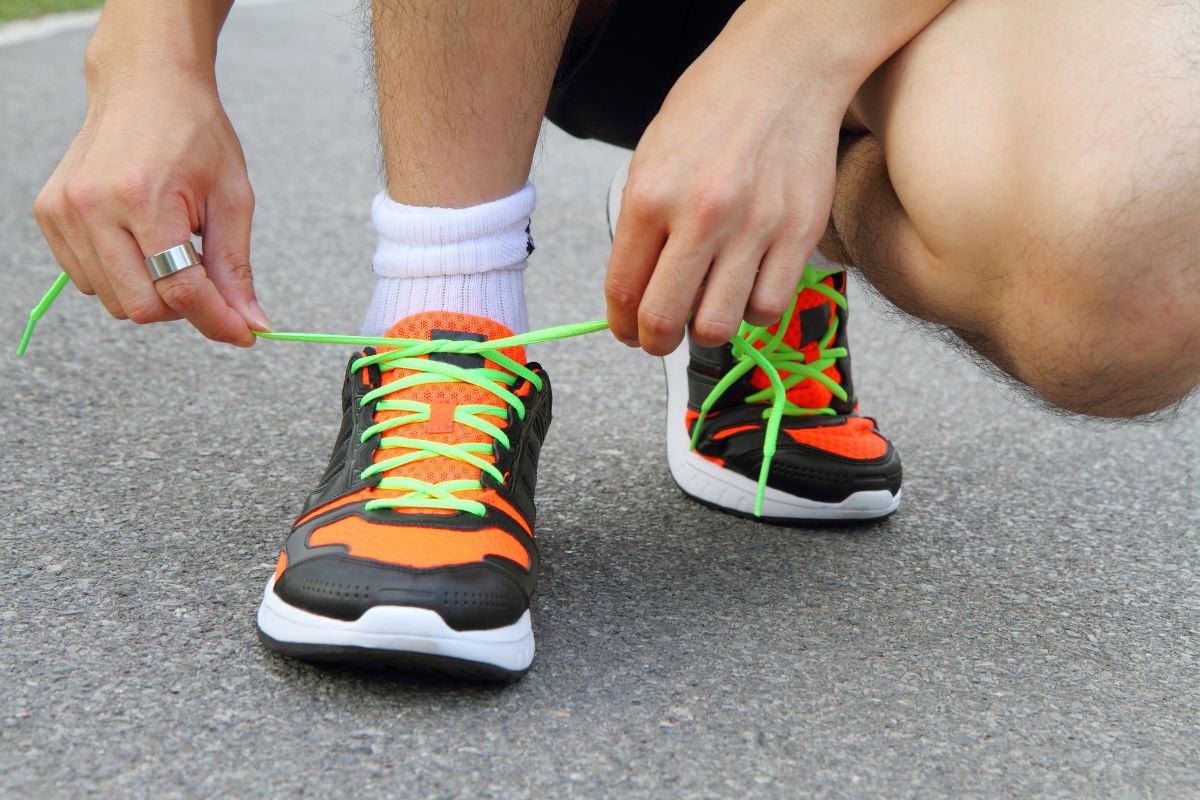
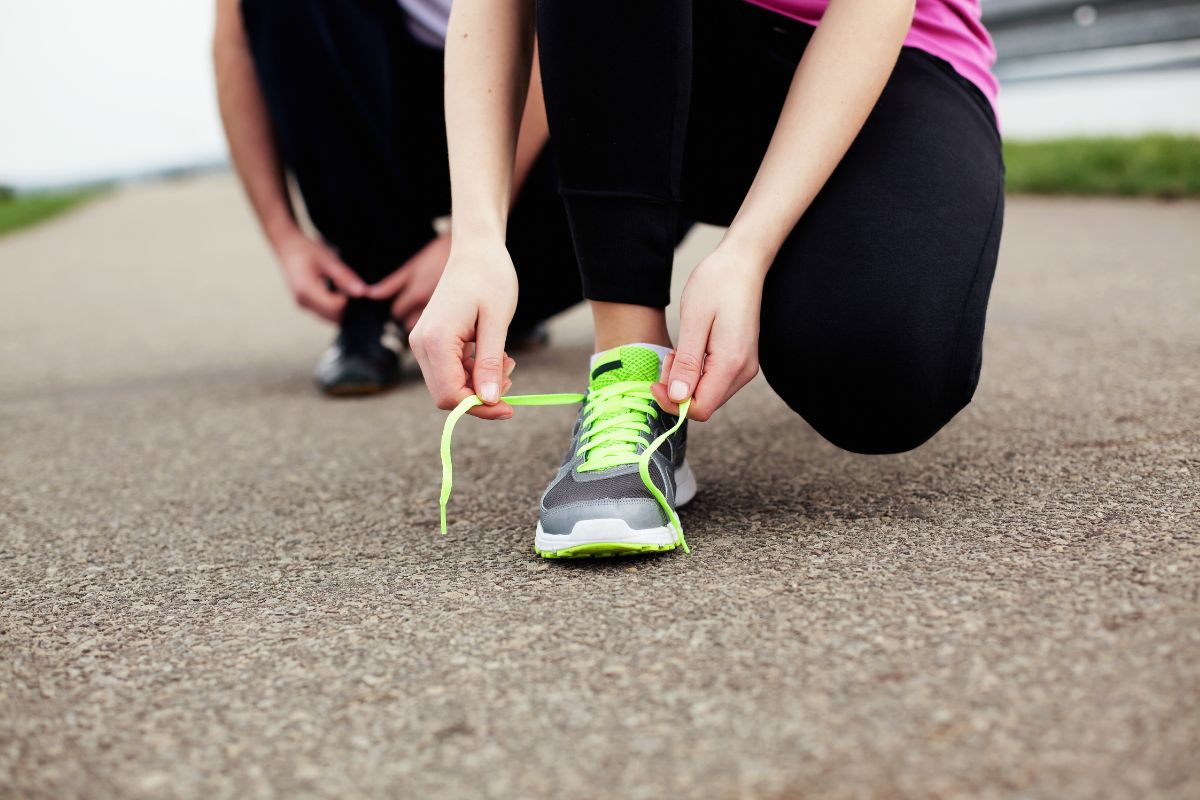
However, easily one of the most important things is that your shoes are comfortable on your feet.
You may have picked out the perfect pair of trainers for your exercise regimen, but in order for them to be truly comfortable all throughout your run, you need to make sure to tie them properly.
But how do you tie running shoes? How do you ensure they don’t come undone as you move about?
If you’re looking for answers to these burning questions, then read on down below, because we are going to take an in-depth look!
How Do You Tie Running Shoes?
When tying your running shoes, you are going to want to ensure that your feet are held comfortably in place.
The best knots to try are ones that help to keep your feet comfortable throughout your run so that your speed is never impacted.
Let’s take a look at some of the best knots.
The Runner’s Loop
The runner’s loop is an incredibly useful knot to try out because it is designed to help keep your heels firmly in place as you move about.
This ensures that you do not suffer any blisters on your heels, and also ensures that your toes do not end up hitting the front of the shoes, causing prolonged discomfort.
In order to tie the runner’s loop, you will need to start by tying your shoes as you normally would, by crisscrossing the laces.
Once you have crossed the laces, you will then want to make sure that you then take each lace and then insert the ends of each lace into the second eyelet from the top on each respective side.
You’ll now notice that two loops have now been formed on each side.
Take the laces that have been passed through the eyelets, and then pull them through the loops that have been created, with the right lace going through the left loop, and vice versa.
Pull the laces tightly to tighten the loops, and then tie your shoes as you normally would.
Window lacing is a fantastic option if you are finding that the tops of your feet become uncomfortable due to excess pressure caused by the tops of the shoes.
Excess pressure on the top of the feet can really impact your running, so start by unlacing your shoes, right until you reach the eyelets that rest just below the point of most pressure.
From there, simply re-lace your shoes, but make sure to pull the left lace through the eyelet on the left side of the shoe, and the right lace through the eyelet on the right side of the shoe for the first set of eyelets.
This will create a unique window shape where the laces do not cross over the pressure point.
From there, simply relace the shoes as normal, and then tie them up as you usually would.
Creating the window in the lacing helps to alleviate pressure on the top of the foot by creating a portion of the shoe that is not laced in an ordinary way, which can allow you to run for longer!
The Reef Knot
This is one of the most popular running shoe lacing methods, as it allows you to create a more dependable knot that won’t come loose as you move.
To start, begin by tying your shoes as you normally would, and create your first loop.
Once you have created your first loop, you then need to create the second loop as normal, but instead pass the first loop under the second loop before finishing the knot.
This very simple method will easily turn a standard knot into a much stronger knot that won’t end up coming loose as you move around.
You should notice that you have done the knot correctly when the loops end up in a perpendicular formation.
To Wrap Up
These are just a small few of the amazing methods for tying your running shoes, however, they are also easily some of the best.
These loops not only will keep your feet more comfortable for longer, allowing you to run much further and for a much greater period of time but will also stay tied for much longer, so you won’t have to keep interrupting your runs just to re-tie them!
Frequently Asked Questions
How Tight Should Running Shoes Be Laced?
Whenever you are lacing a pair of running shoes, you will want to make sure that they are neither too tight nor too loose, as each could cause serious long-term discomfort.
In order to tell whether the laces are too tight or too loose, place a finger between the top two eyelets.
There should only ever be space for one finger to fit between them. If the finger does not fit snugly, it may be too tight or too loose.
What Is The Top Lace Hole For In Running Shoes?
The top eyelet found on many pairs of running shoes is actually intended for creating loops that you can then pass the laces through to create the runner’s loop, which is designed to keep your heel firmly in place as you run.
Should You Lace The Top Hole?
You do not necessarily need to lace up the top eyelet on a pair of running shoes, however, you should make sure to utilize it if you find that your heel is too loose as you run, as that can leave you at risk of blisters.
Hi, I’m Richard Harris and I have been running for almost 20 years now. Since a young teenager with a little baby fat still clinging on for dear life, I have been obsessed with this simple form of cardio.
Not only have I enjoyed running every single day for two decades, but I have also been fascinated by the countless marathons and races offered around the USA. I love watching these races, and I’ve even participated in some of them too!